
Best Camera Settings for Travel Photography Beginners
About the Author: Susan & Doug

Quick Answer: For travel photography beginners, start with Aperture Priority mode (Av), set your ISO between 100-400 in bright conditions, and let your camera handle the rest. These three simple adjustments will give you sharp, well-exposed photos in most travel situations without overwhelming you with technical decisions.
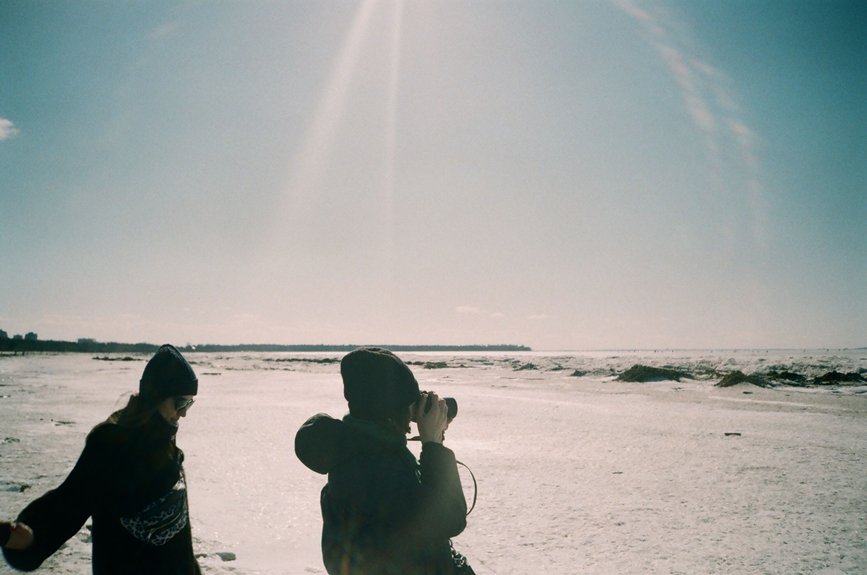
Whether you’re snapping bustling street markets or sweeping mountain vistas, the right camera settings can mean the difference between a forgettable snapshot and a stunning travel photo. We’ll walk you through everything you need to know, from choosing the best shooting mode to dialing in your ISO and shutter speed for any lighting condition. It’s simpler than you think, and the first step might surprise you.
Quick Answer
- Start with Aperture Priority mode, setting aperture between f/2.8–f/5.6, giving flexibility while the camera automatically adjusts shutter speed.
- Keep ISO between 100–400 in bright daylight to maintain sharp, high-quality images with accurate colors and minimal grain.
- Use a shutter speed of at least 1/200s to freeze motion and avoid blur in busy travel scenes.
- For landscapes and group shots, use f/8–f/16 to ensure sharpness and depth across the entire scene.
- In low-light conditions, raise ISO to 800–1600 and use a tripod for stable, well-exposed images without camera shake.
The Best Camera Mode for Travel Photography
Here’s how to get started:
set your aperture, adjust your ISO, and let the camera handle the rest.
- Set your aperture between f/2.8 and f/5.6 for landscapes and cityscapes, creating strong background separation.
- Adjust your ISO manually to suit available light, keeping it low in bright conditions.
- Leave shutter speed to the camera unless shooting motion.
We’d only recommend manual mode once we’re comfortable understanding how aperture, shutter speed, and ISO interact.
For now, Aperture Priority keeps our camera settings flexible and travel-ready.
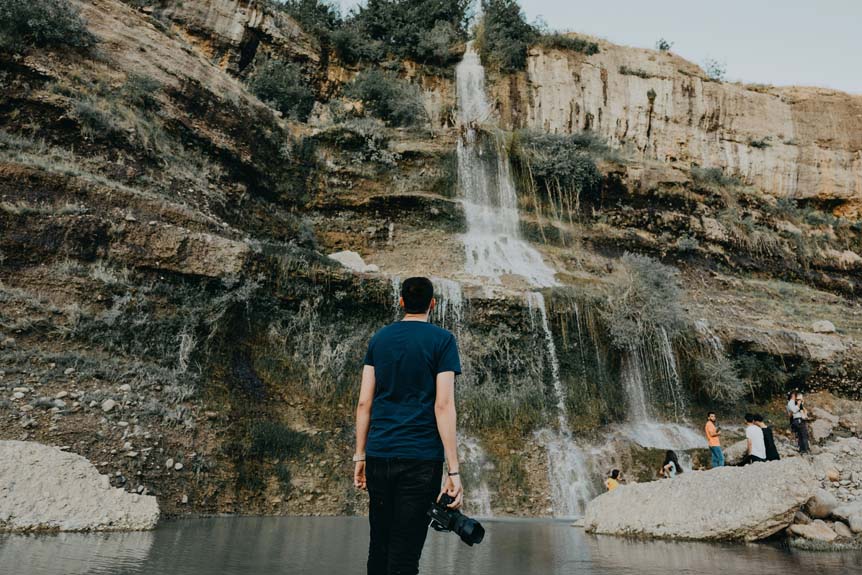
Aperture Settings for Travel Photography Scenes
Whether we’re photographing a bustling street market or a sweeping mountain vista, aperture is the single setting that most dramatically shapes our travel shots. Adjusting the aperture value controls depth of field, sharpness, and how we isolate a subject.
Follow these scene-based guidelines:
- Portraits and details – Use a wide aperture (f/1.4–f/2.8) for strong background blur and subject separation.
- Landscapes and cityscapes – Choose a narrow aperture (f/8–f/16) for full-scene sharpness and maximum depth of field.
- Low-light interiors – Set a wide aperture (f/1.4–f/4) to pull in more light without sacrificing focus.
- Group shots or architecture – Increase the aperture value (f/11–f/22) to keep every subject sharp across the scene.
Shutter Speed for Travel Photography in Any Condition
Shutter speed controls how long your camera’s sensor is exposed to light, and getting it right means the difference between a sharp, dynamic shot and a blurry mess.
In travel photography, we recommend starting with these guidelines:
- Freeze motion: Use at least 1/200s for moving subjects.
- Handheld shots: Stay above the reciprocal of your focal length — 1/50s for a 50mm lens — to prevent camera shake.
- Low light: Increase ISO or widen your aperture to maintain proper exposure while keeping a manageable shutter speed.
- Motion blur: Drop to 1/4s or slower with a tripod for creative effects.
Make dynamic adjustments based on your subject, lighting, and creative intent. Mastering these choices keeps every travel shot intentional.
ISO Settings for Travel Photography in Low and Bright Light
Once you’ve locked in your shutter speed, ISO becomes your next lever for controlling exposure. Adjusting your camera’s ISO settings correctly keeps noise low and image quality high.
Follow these four ISO guidelines:
- Bright light (ISO 100–400): Use low ISO in daylight for maximum clarity and color accuracy.
- Low light indoors or dusk (ISO 800+): Raise ISO to maintain proper exposure when light drops.
- Handheld in low light (ISO 1600–3200): Push ISO higher, but monitor noise carefully.
- Tripod in low light (ISO 100–400): Keep ISO low since your camera stays stable, eliminating grain.
Always aim for the lowest ISO your scene allows. Balancing ISO alongside shutter speed and aperture ensures sharp, clean images wherever you travel.
Camera Settings for Landmarks, Wildlife, and Low-Light Travel Shots
Each travel scenario demands different camera settings, so let’s break down the three most common situations you’ll encounter.
Landmarks and Landscapes: Set your aperture to f/8–f/11 for maximum sharpness and depth of field. Use a tripod with ISO 100–400 and longer exposure times for crisp, noise-free results.
Wildlife: Switch to aperture priority mode and select f/2.8–f/4 in dim conditions. Always use a fast shutter speed of at least 1/200s to freeze movement, and pair it with a telephoto lens for close-up detail.
Low-Light Travel Shots: Raise your ISO to 800–1600 to maintain proper exposure without sacrificing a fast shutter speed. When shooting interiors or night scenes, mount your camera on a tripod and lower your ISO for cleaner images.
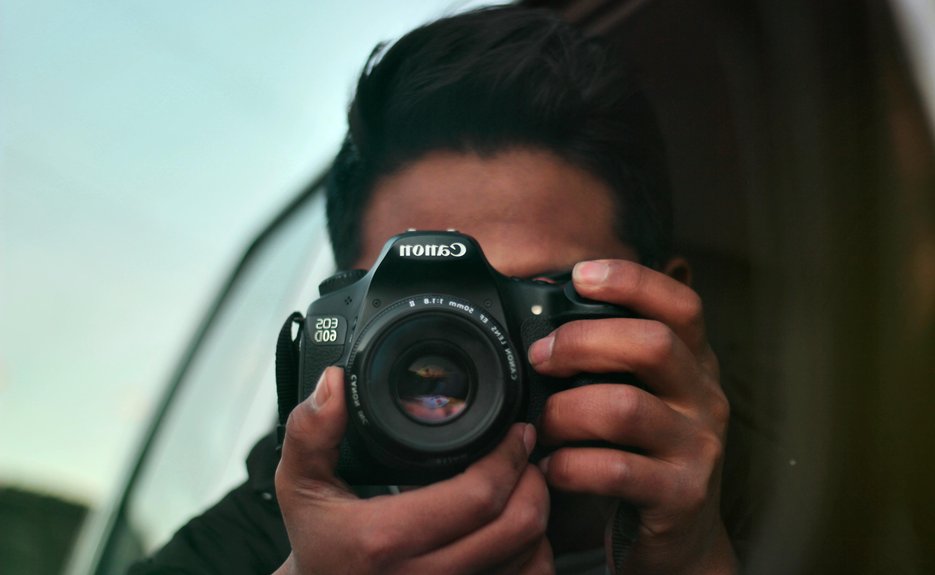
Gear We Use for These Settings
These settings work on any modern camera — here’s what we actually shoot with:
- Camera body that handles every mode in this guide → See our top mirrorless picks →
- A versatile travel zoom for landscapes, streets, and portraits → Best travel zoom lenses →
- A lightweight tripod for low-light and long exposures → Best travel tripods →
- A GorillaPod for flexible setups anywhere → Best GorillaPods for travel →
Frequently Asked Questions
What Is the Best Setting for Travel Photography?
We recommend Aperture Priority mode! Set your camera aperture to f/8-f/11, keep ISO settings low, and let shutter speed adjust automatically. Enable image stabilization, choose proper focus modes, and adjust exposure compensation for stunning travel shots!
What Is the 20 60 20 Rule in Photography?
The 20-60-20 rule splits your settings into three parts: keep ISO settings and depth of field constant (20%), adapt shutter speed and exposure balance (60%), and tweak composition techniques and perspective choices creatively (20%).
What Is the 3/4 Rule in Photography?
The 3/4 rule’s a composition technique where we place our subject three-quarters into the frame. We’ll adjust aperture settings, shutter speed, depth of field, and focal length to enhance perspective choices, framing methods, color balance, subject focus, and lighting considerations.
What Are Common Travel Photo Mistakes?
We’ve all made exposure mistakes, motion blur errors, and focus issues. Let’s avoid lighting challenges, composition errors, framing problems, depth neglect, perspective distortion, color inaccuracies, and tripod neglect by adjusting settings carefully before each shot.
Conclusion
We’ve covered everything you need to confidently dial in your camera settings for travel photography. Remember, nearly 80% of compelling travel shots come down to nailing exposure fundamentals rather than expensive gear. Start with Aperture Priority mode, keep your ISO controlled, and prioritize a shutter speed of at least 1/200s for sharp results. Practice these settings consistently, and you’ll notice dramatic improvements in your travel photos faster than you’d expect.
Put It Into Practice
The best way to master these settings is to get out and shoot. If you’re still building your kit, browse our recommended cameras and lenses on Amazon or Adorama— all tested in real travel conditions.
Keep Reading:
Golden Hour vs Blue Hour: Which Is Better for Travel Photography? →
Best Mirrorless Cameras for Travel Photography →
Photographing the Lofoten Islands in Norway →
Get the Free Europe Photography Packing Checklist
Everything we pack for a 2-week photography trip across Europe — free when you subscribe.
No spam, ever. Unsubscribe anytime.