
Best Camera Settings for Night Photography in European Cities
About the Author: Susan & Doug

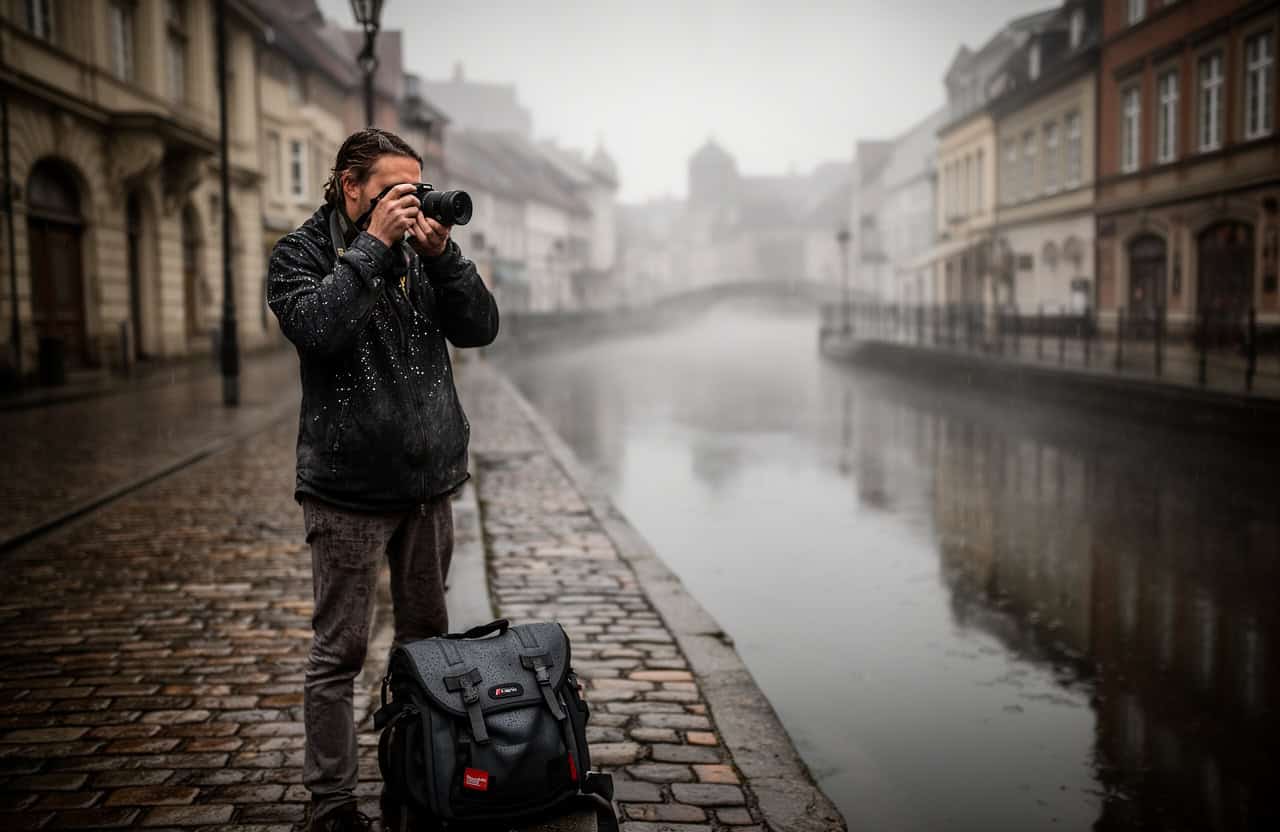
European cities come alive at night, and capturing that magic takes more than just pointing your camera at a lit-up street. We’ll walk you through the exact settings that make the difference between a blurry, noisy shot and a crisp, atmospheric cityscape. From aperture choices to shutter speed decisions, each setting plays a specific role. Get one wrong, and the whole image falls apart. Let’s break down exactly what works.
Quick Answer
- Use f/1.8–f/2.8 for dark streets to maximize light, or f/11–f/16 for sharp skyline shots requiring longer exposures.
- Mount your camera on a tripod for shutter speeds below 1/60 second to capture sharp, detailed night scenes.
- Keep ISO at 100–400 with a tripod; raise to 800–3200 handheld, applying noise reduction in post-processing.
- Use shutter speeds of 10–30 seconds for long exposures capturing light trails, reflections, and illuminated European landmarks.
- Shoot in RAW format and set white balance to Auto, adjusting afterward for warmer or cooler atmospheric effects.
Aperture Settings for European City Night Photography
When shooting night photography in European cities, aperture is one of the first settings we’ll want to dial in. For low-light streets and alleys, starting wide at f/1.8 or f/2.8 is the way to go — it pulls in as much light as possible and really lets those dimly lit cobblestone lanes come alive.
If we’re capturing multiple layers of a busy street or landmark, we recommend stopping down to f/4–f/8 for sharper depth of field across the whole scene.
Chasing those glowing halos around street lamps and illuminated windows? Stay between f/2.8 and f/4 and you’ll get that soft, atmospheric bloom that makes night shots feel genuinely alive.
For dramatic skyline shots where we need deep focus from foreground to horizon, narrowing down to f/11 or f/16 does the job — just know that longer exposures come with that territory, so a solid tripod becomes non-negotiable.
Throughout all of this, we’re constantly balancing aperture against shutter speed and ISO. Nudge one, and the other two shift in response — that push and pull is really the heartbeat of night photography, and getting comfortable with it’s what separates decent shots from ones that genuinely stop people in their tracks.
Tripod vs. Handheld: Which Setup Works Best at Night?
Once we’ve locked in our aperture, the next decision that shapes everything else is whether we’re shooting on a tripod or going handheld.
After locking in your aperture, one decision shapes everything else: tripod or handheld.
A tripod lets us drop our shutter speed to 30 seconds or longer, eliminating camera shake and capturing crisp detail across cityscapes and architecture. It’s honestly the gold standard for European city nights, and we wouldn’t trade it for anything when the scene calls for it.
Going handheld forces us to push ISO up to 3200–6400 and widen our aperture to compensate for faster shutter speeds. That trade-off means more noise and softer images, though we gain real flexibility for spontaneous street moments — the kind you simply can’t plan for.
Here’s the simple rule we recommend going by: if the scene is static — bridges, squares, lit facades — get the tripod out. If you’re moving through a crowd and need to react quickly, shoot handheld and make peace with the noise. Some of our favorite nighttime shots came from exactly that kind of split-second decision, even if they’re not technically perfect.
ISO Settings for Night Photography Without Noise Damage
Nailing ISO at night comes down to one core principle: keep it as low as your setup allows. When we’re shooting on a tripod, we stick to ISO 100–400. That low baseline delivers clean, noise-free images of European cityscapes without sacrificing detail.
Handheld night photography changes things. We’ll push ISO to 800–1600 to compensate for shorter shutter speeds. If your camera handles high-ISO performance well, ISO 3200 or beyond can still produce acceptable results.
Here’s the workflow we recommend:
- Test your camera at various ISO settings beforehand — every body handles high ISO differently, and knowing your gear’s limits before you’re standing on a dark street saves a lot of frustration.
- Start low and raise only when the shot genuinely calls for it.
- Apply noise reduction in Lightroom or Photoshop post-shoot to recover any lost sharpness.
These habits become second nature pretty quickly, and once they do, protecting your image quality at night feels less like a checklist and more like instinct.
Shutter Speed for Night Streets and Cityscapes
Shutter speed works hand-in-hand with ISO to define what our night shots truly capture. For handheld night street photography, we recommend at least 1/60 second to avoid blur. If you’re freezing moving cars or pedestrians, push that to 1/250 second or faster, pairing it with higher ISO for enough light.
Handheld night photography demands at least 1/60 second — push to 1/250 to freeze movement, paired with higher ISO.
For long exposures on a tripod, 10-30 seconds opens up a completely different creative range. At these speeds, you’ll capture illuminated buildings, glowing reflections, and streaking traffic lights beautifully. Fifteen to thirty seconds works especially well for smooth water effects near riverside European cityscapes.
The key thing to remember is matching your shutter speed to what’s actually moving in front of you. Static scenes reward slower speeds, while active streets demand faster ones.
We recommend mounting your camera on a tripod for anything below 1/60 second — trust us, it makes a real difference.
White Balance and RAW Settings for City Streetlight Scenes
White balance can make or break the mood of your city night shots, so we recommend shooting in RAW format whenever possible. RAW gives you full flexibility to adjust white balance during post-processing without losing image quality. Set your in-camera white balance to Auto as a neutral starting point, then fine-tune later.
Here’s how we approach artificial light sources in urban scenes:
- Warmer settings enhance the golden glow of streetlights, adding atmosphere.
- Cooler settings emphasize a crisp, moody night ambiance.
- Post-processing adjustments help balance mixed artificial light sources accurately.
If you’re shooting JPEGs, we recommend leaning on presets like Fluorescent or Tungsten directly in-camera to get closer to the color tone you’re after — it saves a lot of frustration later.
Either way, getting comfortable with white balance is honestly one of the best things you can do to turn an ordinary streetlight scene into something that really stops people mid-scroll.
Gear We Use for Night Photography
Night photography demands the right combination of sensor, glass, and support:
- A mirrorless camera with excellent high ISO performance → Best mirrorless cameras for travel →
- A fast zoom lens with wide maximum aperture for low light city shots → Best travel zoom lenses →
- A sturdy travel tripod — essential for long exposures → Best travel tripods →
- A GorillaPod for flexible setups on walls and railings → Best GorillaPods for travel →
Frequently Asked Questions
What Camera Settings Are Best for Night City Photography?
For stunning urban light shots, we recommend using manual mode, f/2.8 aperture, ISO 800-3200, and long exposure settings of 10-30 seconds. Mount your camera on a tripod to eliminate blur!
Do I need a remote shutter release for night photography?
A remote shutter release or 2-second self-timer is highly recommended for exposures longer than a few seconds. Even pressing the shutter button can introduce micro-vibrations that blur long exposure shots. Most mirrorless cameras have a built-in 2-second timer that works perfectly as a free alternative.
How to Take Good Night City Photos?
To capture stunning urban lightscapes, we’ll want to use a tripod, set ISO to 100-400, and shoot 10-30 second exposures. This beautifully renders nocturnal street scenes and city skyline reflections with sharp, vibrant detail.
What Is the 500 Rule for Night Photography?
We’ll divide 500 by our focal length to find our maximum shutter speed. This helps us combat light pollution, keeping stars sharp. Pair it with a wide lens aperture for stunning, trail-free night shots! Note: On high-resolution sensors above 30MP we recommend using 300 rather than 500 for sharper star shots.
Conclusion
Think of these settings as a recipe — get the ingredients right, and your shots will come alive. We’ve covered aperture, ISO, shutter speed, tripod use, and RAW shooting, so now it’s time to put it all into practice. Start with f/2.8–f/4, keep ISO low, and adjust your shutter speed to match your setup. Head out, experiment, and let Europe’s glowing streets tell their story through your lens.
Put It Into Practice
Ready to shoot night photography? Browse our recommended cameras and gear on Amazon →

Get the Free Europe Photography Packing Checklist
Everything we pack for a 2-week photography trip across Europe — free when you subscribe.
No spam, ever. Unsubscribe anytime.