Best Camera Settings for Golden Hour and Blue Hour Photography
About the Author: Susan & Doug

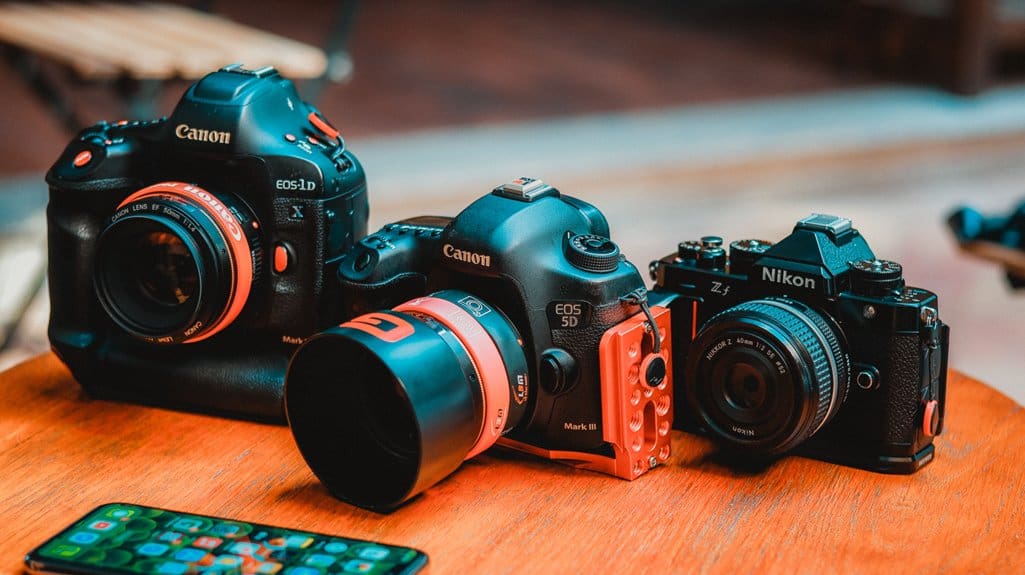
Light can be your greatest ally or your worst enemy, and golden hour and blue hour are when that difference matters most. We’ll walk you through the exact camera settings that separate a flat, blown-out shot from one that stops people mid-scroll. From aperture to white balance to shutter speed, we’ve got each adjustment covered for both lighting windows. Stick with us — what comes next will change how you shoot these fleeting moments forever.
Quick Answer
- For golden hour, use a wide aperture between f/1.2–f/2.8, low ISO (100–400), and shutter speeds of 1/200–1/500 seconds.
- Set white balance to 5600K–6500K for golden hour to preserve warm tones, and 4500K for blue hour’s cool hues.
- During blue hour, use a tripod with shutter speeds of 1/10 second or longer to capture dim available light.
- As light transitions, gradually slow shutter speed, raise ISO incrementally, and widen aperture to maintain proper exposure.
- Always shoot in RAW format and monitor the histogram to avoid highlight clipping and shadow crushing.
What Golden Hour and Blue Hour Mean for Your Camera
When we talk about golden hour and blue hour, we’re really talking about two distinct lighting scenarios that each push our cameras in different directions. Golden hour hands you warm, soft light from the sun’s low angle, and that gentle quality produces flattering shadows with rich, saturated color.
Getting the most from it means adjusting your white balance to honor that warmth and keeping a close eye on your exposure so the scene stays true to what you’re actually seeing.
Dial in your white balance and nail your exposure — golden hour rewards the photographers who pay attention.
Blue hour is a different story entirely. Once the sun drops below the horizon, everything shifts toward cooler tones and the available light takes a serious hit.
You’re no longer working with direct sunlight, so we recommend leaning on long exposure techniques, opening your aperture wider, and bumping your ISO to pull in enough light without losing the mood that makes blue hour worth shooting in the first place.
The honest truth is that these two windows aren’t interchangeable, and treating them the same way will cost you the shot.
Each one asks you to read how the available light is actually behaving and then make deliberate choices with your camera settings to match it.
Get that right, and both golden and blue hour will consistently deliver results that feel intentional rather than accidental.
Golden Hour Camera Settings That Capture Warm, Rich Light
Golden hour light is already doing a lot of the heavy lifting, so your job is really just to set your camera up in a way that honors what’s already there.
For golden hour photography, we recommend starting with a wide aperture between f/1.2 and f/2.8. This maximizes light intake and creates beautiful depth of field with that soft, dreamy background blur we all love.
Keep your ISO low, somewhere between 100 and 400, to hold onto a clean exposure in this naturally dim environment.
To protect those gorgeous warm tones, adjust your white balance to Cloudy or dial it in manually somewhere between 5600K and 6500K.
We recommend shooting in aperture priority mode so your camera takes care of shutter speed on its own.
From there, aim for shutter speeds between 1/200 and 1/500 seconds — that sweet spot helps you avoid blowing out the exposure while keeping all that warm, golden light looking exactly as rich and true as it does to the naked eye.
Blue Hour Camera Settings for Cool, Moody Shots
Blue hour calls for a different approach than golden hour — and the settings shift pretty considerably. The cooler, dimmer light demands we adjust our gear intentionally to capture that moody atmosphere.
Here are the three key settings we always come back to:
- Stabilize and lower ISO — Get your camera on a tripod and set ISO between 100–400 to keep long exposure shots clean and noise-free.
- Set aperture to f/8–f/11 — This keeps the entire scene sharp, letting those moody details register clearly across the frame.
- Adjust shutter speed and white balance — Slow your shutter speed to 1/10 of a second or longer, and dial white balance in around 4500K to really lean into those blue and violet tones.
We also strongly recommend shooting RAW every time — it gives us full control over color grading in post, and blue hour images genuinely benefit from that flexibility.
Essential Gear for Golden Hour and Blue Hour Photography
Getting the right gear in place makes all the difference when shooting golden hour and blue hour. First, invest in a sturdy tripod—it’s non-negotiable for sharp long exposures in low light.
Pair it with wide-aperture lenses ranging from f/1.2 to f/2.8 to pull in maximum light and create beautiful background blur.
Next, choose a camera with strong high-ISO performance and full manual controls so we’re never fighting our equipment when light fades fast.
Attach a lens hood to cut glare and flare, especially when shooting toward the sun or bright artificial lights.
Finally, don’t overlook the small stuff. A remote shutter release eliminates camera shake, and honestly, we can’t stress enough how much of a difference it makes in those dimmer conditions.
Throw in extra batteries and loaded memory cards too—the last thing we want is to run out of juice or storage space right in the middle of those fleeting light windows.
How to Adjust Exposure as Golden Hour Fades Into Blue Hour
As golden hour melts into blue hour, staying ahead of the rapidly shifting light means making steady, incremental exposure adjustments. Mounting your camera on a tripod early lets you handle long exposures without blur as light conditions drop.
Follow these three key adjustments:
- Slow your shutter speed gradually to capture more light while your tripod prevents camera shake.
- Raise your ISO incrementally from 100 to 400 or 800, balancing exposure without excessive noise.
- Widen your aperture to f/2.8 or lower, letting in maximum light during blue hour.
Throughout this transition, we recommend watching your histogram closely. It’ll tell you when highlights clip or shadows crush. Switch metering modes if needed to maintain accurate readings as blue hour deepens.
Our Golden Hour & Blue Hour Kit
What we have ready when the light turns magic:
- Compact travel tripod — non-negotiable for blue hour long exposures → Best travel tripods →
- Graduated ND filter for balancing bright sky vs dark foreground → Check price on Amazon →
- Our editing software picks for processing golden hour RAW files → Best photo editing software →
Affiliate links — we earn a small commission at no extra cost to you.
Frequently Asked Questions
What Should My Camera Settings Be for Golden Hour?
We recommend using wide aperture settings (f/1.8-f/4), adjusting shutter speed to 1/200-1/500s, and setting white balance to shade. Consider using a tripod, applying exposure compensation, and selecting the proper metering mode for stunning golden hour shots.
What Camera Setting Is Best for Blue Hour Photography?
Just as stars align, we’ll nail blue hour: mount your tripod, choose a wide lens, set aperture f/8-f/11, slow shutter speed, low ISO for noise reduction, adjust white balance, use manual focus mode, and apply exposure compensation perfectly.
What ISO to Use for Golden Hour?
We recommend keeping ISO at 100 during golden hour. It’ll maximize dynamic range and minimize noise. Pair it with proper aperture choices, shutter speed, and exposure compensation to balance lighting techniques for sharp, vibrant images.
How to Get Great Golden Hour Photos?
We’ll nail golden hour by adjusting aperture settings to f/1.8 for depth of field, setting white balance to shade, boosting exposure compensation, controlling shutter speed, using lens filters, and applying composition techniques to maximize light contrast and color saturation.
Conclusion
Think of golden and blue hour as a relay race — the warm, wide-open settings of golden hour pass the baton to the cool, steady settings of blue hour. We’ve walked you through every handoff: aperture, ISO, white balance, and shutter speed. Now it’s your turn to run. Grab your camera, review these settings, and get outside. The light won’t wait, but with the right setup, we’ll always be ready.
Master the Magic Hours
Filter and tripod prices shift frequently — check current pricing on Amazon → or B&H Photo →

Get the Free Europe Photography Packing Checklist
Everything we pack for a 2-week photography trip across Europe — free when you subscribe.
No spam, ever. Unsubscribe anytime.